Smart thermostat installation is quickly becoming a popular home upgrade for energy savings, comfort, and automation. Whether you want to cut utility costs, simplify temperature control, or tap into the latest in smart home tech, understanding how these devices work — and how to install them — is crucial for homeowners in 2024.
Key Takeaways
- Installing a smart thermostat can reduce annual heating and cooling costs by 10–26% based on real usage data.
- Most smart thermostats can be installed by DIYers in under an hour, but technical compatibility and wiring challenges can trip up even experienced homeowners.
- Incentives and rebates from utility companies are widely available, often making smart thermostat installation more affordable in 2024.
- What Is Smart Thermostat Installation and Why Bother?
- How to Install a Smart Thermostat: Step-by-Step Guide
- Advanced Analysis & Common Pitfalls
- Conclusion
- Frequently Asked Questions
What Is Smart Thermostat Installation and Why Bother?
Smart thermostat installation refers to replacing a traditional thermostat with a smart, Wi-Fi enabled device that learns your schedule, adjusts temperatures automatically, and lets you control home heating and cooling remotely. These thermostats—like Nest, Ecobee, Honeywell, or Sensi—use AI-driven algorithms and geofencing to optimize your HVAC, helping you trim energy waste and costs.
Switching to a smart thermostat has tangible benefits for homeowners:
- Energy savings: Studies consistently show average reductions of 10–15% on utilities. Some brands, like Ecobee and Honeywell, report even higher averages with optimal feature use.
- Financial payback: The average US household spends $2,000 a year on energy. By cutting even 10%, you may pocket $200 extra annually. Many utility companies also offer rebates of $75–$100 per installation.
Sources: SNS Insider,
Honeywell Home - Comfort and automation: Features like scheduling, learning, or voice control mean your system essentially “thinks” for you—managing comfort without constant adjustments.
- Environmental impact: At scale, these savings are massive—installations from programs like Google Nest have saved 113 billion kWh of energy, equal to hundreds of millions of gallons of gasoline.
Source: Google Sustainability
Ready to take your smart home further? Consider pairing your thermostat upgrade with an energy-smart heat pump water heater for even greater efficiency gains.
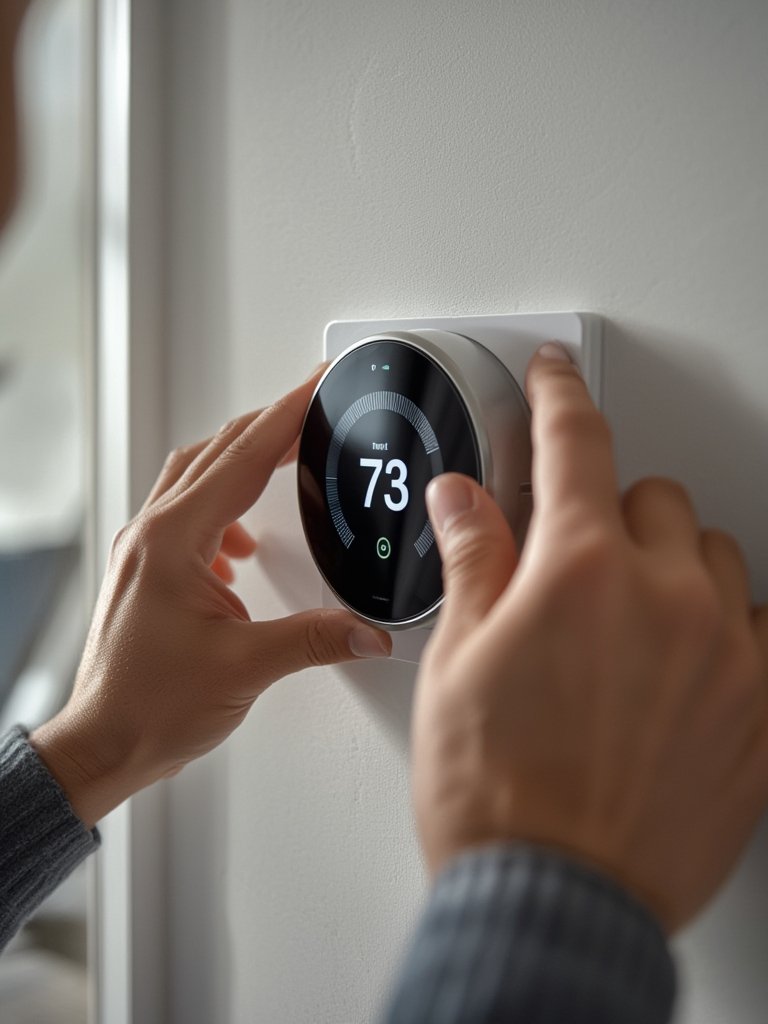
How to Install a Smart Thermostat: Step-by-Step Guide
Most smart thermostat installation jobs follow the same basic steps, but always consult your manufacturer’s manual. Here’s an actionable process for a smooth upgrade:
- Turn Off Power at the breaker panel to your HVAC.
- Remove the Old Thermostat. Pry off the faceplate and unscrew the base. Label each wire (e.g., W, R, Y, G, C), then disconnect.
- Install the New Base Plate. Use the included hardware—ensure it’s level.
- Connect the Wires as shown in the smart thermostat guide, matching your labels to the new terminals.
Tip: If you need a tight, clean wire run to a new wall location, use cable management tricks like those for acoustic wall panel installations. - Attach Faceplate and power up your HVAC system. Wait for your unit to boot.
- Wi-Fi Setup: Use the app or onboard controls to join your home’s network, then register the device with the brand’s ecosystem.
- Configure Scheduling and Preferences such as home/away routines and geofencing.
- Enroll in Utility Incentives if available—this can offset much of your installation cost. Many brands offer guided sign-up within their mobile app.
- If you also want to save laundry space, a ventless washer dryer project pairs well with a smart thermostat for space and energy improvements.
Advanced Analysis & Common Pitfalls
Installation is rarely completely trouble-free. Being realistic about common pitfalls and hidden costs will help you avoid headaches:
| Potential Problem | Why It Happens | Solution |
|---|---|---|
| No C-wire (common wire) in old system | Many pre-2010 homes lack this wire; smart thermostats often require constant power | Use a C-wire adapter or choose models that operate without it; in some cases, professional install is best |
| Compatibility issues with multi-stage or heat-pump HVAC | Not all thermostats speak the right “language” for every system | Consult manufacturer’s compatibility checker before purchasing |
| Wi-Fi dead zones | Thermostat placed far from router or thick walls block the signal | Upgrade to mesh Wi-Fi or install a repeater |
| System short-cycling or HVAC errors | Incorrect wiring or configuration; smart features can sometimes conflict with old equipment | Double-check wiring, consult support, or revert to basic thermostat mode if necessary |
| Diminished savings due to poor insulation or oversized HVAC | Smart thermostats can’t overcome fundamental building inefficiencies | Pair with basic upgrades (insulation, sealing) for maximum ROI |
Many users expect maximum savings instantly but see only marginal improvements at first. Results depend on how you use scheduling features, temperature setbacks, and grid-integrated options like Nest’s Energy Shift or Rush Hour Rewards programs (see real savings data here). For apartment dwellers or those with unique layouts, in-room sensors and geofencing can make a larger difference than “auto-schedule” alone.
- For homes with advanced flooring like SPC flooring or large open spaces, consider adding more sensors to optimize comfort across rooms.
- If maximizing energy and water efficiency is your goal, combine your project with a modern, energy-efficient laundry system.

Conclusion
Smart thermostat installation is one of the highest-impact, lowest-effort energy upgrades for most homeowners. With potential annual energy savings of 10–26%, real-dollar payback, and apps that put HVAC control at your fingertips, it’s a practical win in nearly any climate. Just remember to check wiring compatibility, claim utility rebates, and tailor smart features for your actual lifestyle. Ready to get started on smart thermostat installation? Take the first step—your comfort, budget, and the environment will thank you.
Frequently Asked Questions
How long does smart thermostat installation take?
For most homeowners with basic wiring, installation takes about 30–60 minutes. Adding a C-wire adapter or troubleshooting issues may add time. Always set aside a full hour to allow for Wi-Fi setup and learning features.
Will a smart thermostat work without Wi-Fi?
Most models can control temperature even if Wi-Fi is unavailable, but you’ll lose features like app control, remote access, and usage tracking. For best results, ensure your thermostat has a stable Wi-Fi connection.
Can I install a smart thermostat if I rent?
Yes, with permission. Smart thermostats are reversible upgrades—just keep the original hardware to reinstall later. Make sure your landlord or property manager approves before starting.
What are the main downsides or risks?
Potential downsides include upfront cost, wiring challenges if your system lacks a C-wire, and limited benefits for poorly insulated homes. In rare cases, incorrect wiring can damage your HVAC—when in doubt, hire a professional.
How do utility rebates work for smart thermostat installation?
Many power companies offer direct rebates of $75–$100 upon proof of purchase and installation. Some require device registration with their portal. Check availability with your provider before purchasing.